
Understanding Aluminum Extrusion
Aluminum extrusion is a procedure that involves pressing aluminum raw material or aluminum alloy material through a die with a specific cross-sectional profile.
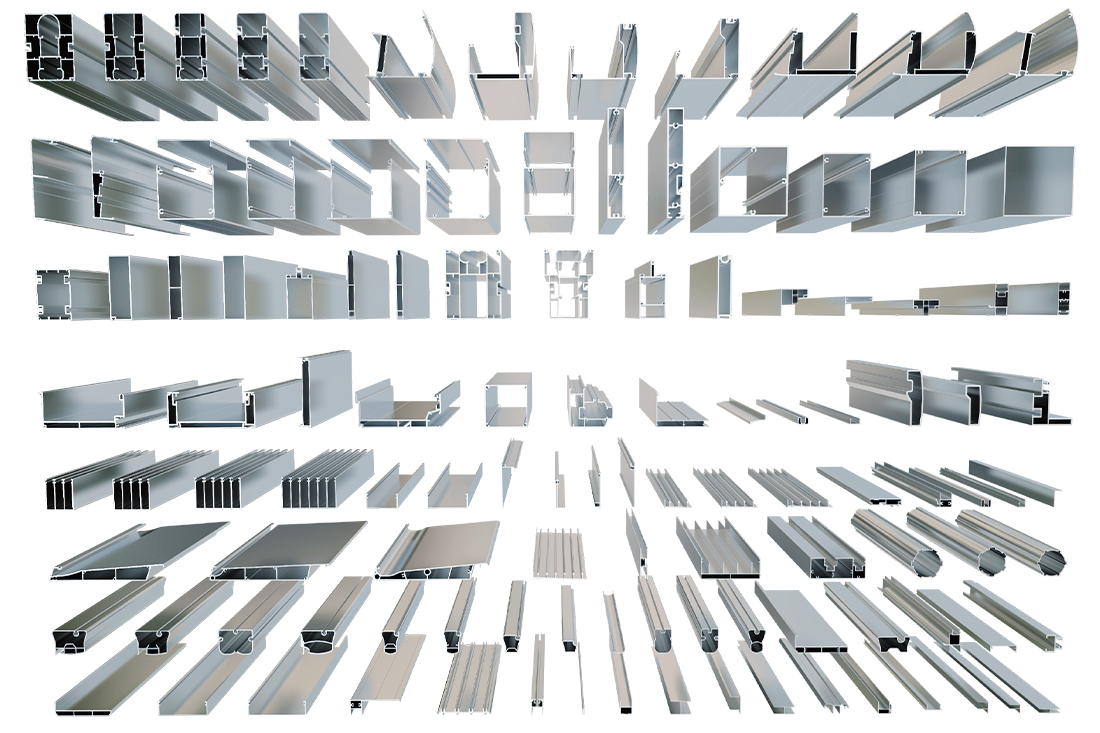
Aluminum extrusion is a procedure that involves pressing aluminum raw material or aluminum alloy material through a die with a specific cross-sectional profile. It is used to transform aluminum into objects suitable for a wide range of uses. The machinability of aluminum makes it easy to shape and cast, and because it has one-third the density and hardness of steel, the resulting products are strong and stable compared to other metals.
In recent times, aluminum extrusion has become a dominant force in the realm of product development and manufacturing. According to the latest research, the global aluminum extrusion market grew from $86.16 billion in 2022 to $92.8 billion in 2023 at a compound annual growth rate (CAGR) of 7.7%.
Maybe you have encountered this production method and wondered about its intricacies. This article explores its comprehensive aspects, offering insights into the nature and mechanics of aluminum extrusion.
What Does Aluminum Extrusion Entail?
Aluminum extrusion involves pushing an aluminum alloy through a specifically designed die, resulting in a distinct cross-sectional shape. A significant force is exerted to drive the aluminum through the die, and auminum takes on the exact form of the die's design. As this occurs, the extruded aluminum is transported away on a conveyor.
To simplify the concept: imagine squeezing a tube of toothpaste. As you apply pressure, the paste emerges shaped by the tube's nozzle. Similarly, the nozzle of a toothpaste tube serves a purpose akin to the extrusion die in this process.
The History Behind Aluminum Extrusion
The origins of this manufacturing method trace back over a century. Joseph Bramah first introduced the extrusion process in 1797 for crafting lead pipes. Originally dubbed "squirting," this method remained manual until 1820 when Thomas Burr innovated with the first hydraulic press. Later, in 1894, Alexander Dick introduced the hot extrusion technique, a method still prevalent today. This advancement enabled the use of non-ferrous alloys in extrusion. By 1904, following the invention of the initial aluminum extrusion press, the automotive and construction sectors saw a significant rise in aluminum applications.
The global wars further accelerated the demand for aluminum extrusion as it became essential for military applications, especially in aircraft manufacturing. The utility of extruded aluminum has only grown since, permeating various aspects of our daily lives—from the vehicles we use to the common household goods—attributing to its efficient production methodology.
Understanding Direct vs. Indirect Aluminum Extrusion Techniques
Aluminum extrusion primarily follows two distinct processes: direct and indirect. In direct extrusion, the die remains fixed, and the ram applies force to push the metal through it. On the other hand, the indirect technique sees the billet stationary while the die moves against it, generating the needed pressure to push the metal through. Let’s delve deeper into these two approaches.
Direct Aluminum Extrusion Technique
Direct extrusion, also known as forward extrusion, is the prevalent approach to aluminum extrusion. In this method, machinists place the billet, which is essentially heated aluminum, inside a container with heated walls. A ram then applies force, pushing the metal through the die, which is under substantial pressure during this phase.

To avoid contact between the ram and the heated billet, often, material blocks are introduced between them. This practice ensures there’s no direct contact, enhancing the process's efficiency. Since both the aluminum billet and ram move in a unified forward direction, this method earned its “forward extrusion” title.
Indirect Aluminum Extrusion Technique
Also termed as backward extrusion, the indirect method is fundamentally different from its direct counterpart. In this approach, the billet and its container are the components that move, while the die remains fixed in position. The procedure employs a "stem," which exceeds the container's length and holds the ram stationary. As a result, the aluminum billet gets pushed through the non-moving die.

One advantage of the indirect method is the reduced friction it offers, leading to superior heat regulation. Consequently, products derived from indirect extrusion usually showcase enhanced consistency. This can be attributed to the consistent force application and uniform temperature, which in turn results in improved mechanical traits and grain configuration.
A Comprehensive Walkthrough of the Aluminum Extrusion Process
Step 1: Setting Up the Extrusion Die
Start by machining a circular die or opt for a pre-existing one. It's crucial to preheat this die between 450-500°C to ensure uniform metal flow and enhance the die's lifespan. Once preheated, position the die within the extrusion press.
Step 2: Warming Up the Aluminum Billet
Firstly, segment the billet—a robust cylindrical piece of aluminum alloy—from a longer material log. Then, heat it in an oven within the range of 400-500°C. This heating not only makes the billet pliable but also ensures it remains solid, not molten.
Step 3: Positioning the Billet in the Press
Post heating, mechanically shift the billet to the press. Before doing so, apply a lubricant on it and a release agent to the extrusion ram, ensuring they don't stick to each other.
Step 4: Insert Billet into the Press Container
Now that the billet is within the press, a hydraulic ram exerts an immense force—around 15,000 tons—propelling the pliable billet into the container where it expands and occupies the container space.
Step 5: Force the Material through the Die
With the billet inside the container, it's pressed against the die due to the constant applied pressure. The only exit for the material is via the die's openings, resulting in the desired shape as it emerges.
Step 6: Cooling Phase – Quenching
As the extrusion emerges, a puller holds and guides it. During its journey on the table, it undergoes cooling by fans or a water bath, a procedure termed as “quenching.”
Step 7: Trimming Extrusions to Match Table Length
Upon reaching the table's full length, a hot saw trims the extrusion. It's worth noting that even after quenching, the extrusion retains some heat.
Step 8: Final Cooling Stage
Post trimming, shift the extrusions to a cooling area where they remain until they reach ambient temperature. This cooling sets the stage for stretching.
Step 9: Stretching and Alignment
At this juncture, you might observe some minor distortions in the shapes. Address these by employing a stretcher, gripping each profile at both ends, and stretching it to achieve a straight configuration and desired specifications.
Step 10: Cutting to Precise Lengths
With the straightened, work-hardened extrusions, you can now relocate them to a saw table for precise cuts, primarily ranging between 8-21 ft. Following this, they can be transported to an oven for aging to achieve the ideal temper, like T5 or T6.
Step 11: Finalizing with Additional Procedures
Once the extrusion process concludes, the profiles can undergo heat treatments to enhance specific characteristics. Post heat treatment, if needed, fabrication can correct any dimensions. Lastly, apply a surface finish to augment the aesthetics and bolster corrosion resistance.